
Introducing StellarPay #
StellarPay is the best way to collect payments using Stripe on your WordPress and WooCommerce website. This document will guide you through getting set up as quickly as possible with StellarPay.
To get started with StellarPay, you should already have WooCommerce installed and active.
Installation Steps #
At its core, StellarPay is facilitating the connection between your WooCommerce store and Stripe, so to the three-step process to get fully set up is
- Connect to Stripe
- Configure how StellarPay displays and works on your site
- Enable StellarPay as a Payment Gateway in WooCommerce
- (Optionally) Create a Subscription product
It’s designed so that once you are connected to Stripe (step one) you should be able to manage all the settings you need directly from within your WordPress dashboard.
Before you can do any of that, ensure that you have StellarPay itself installed and active. In the WordPress administration dashboard:
- Navigate to
Plugins>Add new Plugin - Search for “StellarPay”
- Find it in the list and click “Install Now”
- Click “Activate” to complete the process.
Connect to Stripe #
Immediately after StellarPay is active you are directed to the onboarding page. Click Connect to Stripe to connect your website to Stripe.

After you select to connect to Stripe you will be redirected to Stripe where you can log in and select your account, or if you don’t have an account yet you can create one. The connection process is encrypted and secure.
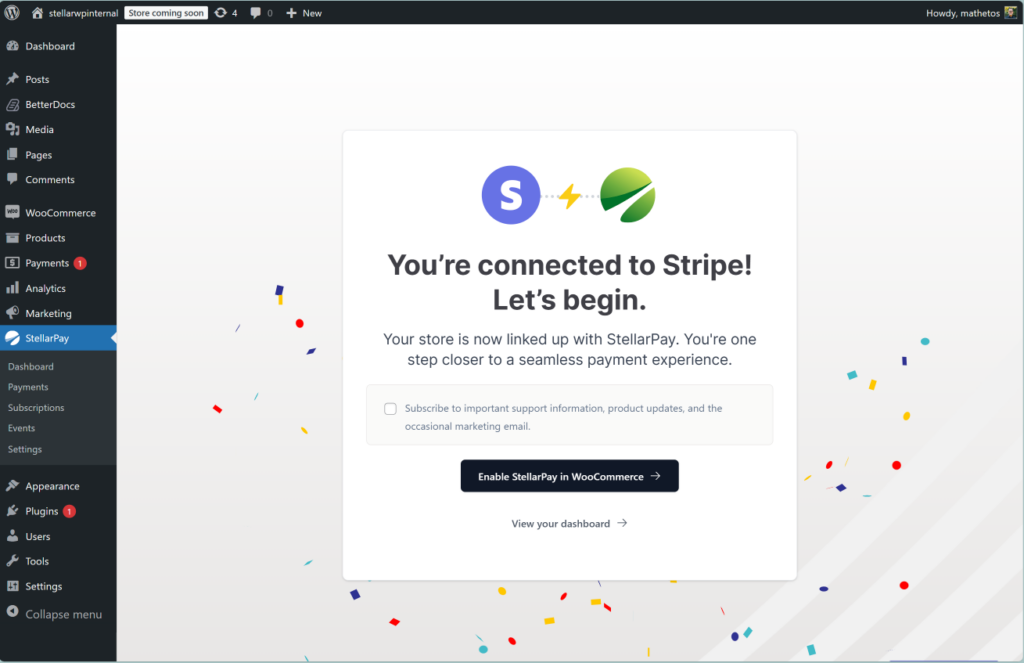
After the connection process is completed you will be returned to your website to a Congratulations screen which confirms that the connection process was successful.
If an issue occurred during the process, then you will see an error page. Often resolving things from that screen is as simple as trying again. If attempting to connect again doesn’t work, reach out to the StellarWP support team for assistance.
Configure StellarPay #
If you’ve followed along in the guide to this point, StellarPay has connected your site to Stripe, but is not enabled as a payment option for WooCommerce yet. That’s because you should make sure (especially if your WooCommerce store is already live) that StellarPay is configured just right for your eCommerce needs.
Within the settings page there are individual sections for modifying the appearance, which payment methods display, and how the dashboard interface allows for control. Take a few minutes to ensure each of those areas are configured according to your needs.
Activate StellarPay as a WooCommerce Payment Method #
- Head to
WP-Admin>WooCommerce>Settings>Payments. There is also a helpful direct link to this page from the notice on StellarPay’s admin pages. - Find
StellarPay - Stripe Payment Gateway Integrationand toggle the “Enabled” field so that it’s turned on. - There is no need to click “Save changes,” the gateway is now enabled and available for your customers as a payment option.

What’s Next? #
Now your Stripe information can be seen and reviewed and in some cases updated via your WordPress admin. As your orders come in you can see Stripe activity including payments and your payout schedule, review subscription activity, issue refunds and more.
