
Introduction #
Just like Stripe, StellarPay provides a very similar “Test Mode” that works nearly identically. When in Test Mode, no real money is used. This allows you to test your store’s integration with Stripe with ease.
Enabling Test Mode for StellarPay #
- Log into your WordPress website.
- Navigate to StellarPay > Settings > Development & Test.
- Click “Connect a Test Account”.
Just like during the onboarding process, you will be redirected to the Stripe authentication page where you can select a Stripe account to begin testing with.
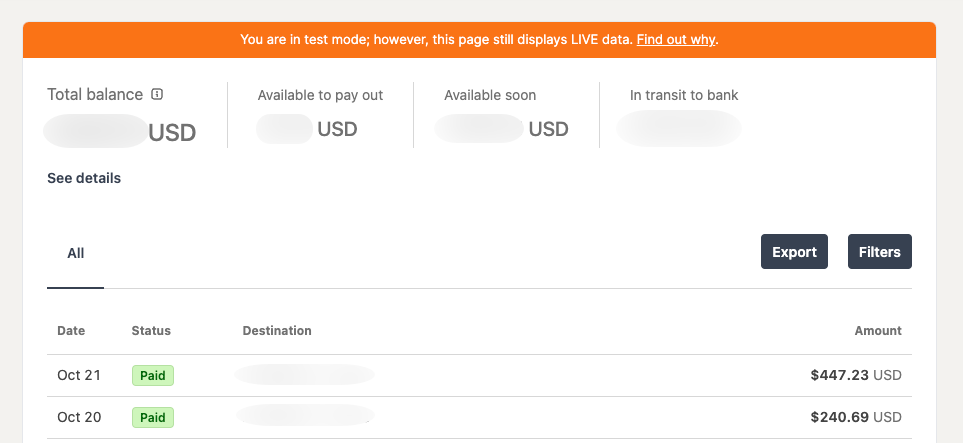
Note: Some components within StellarPay will still display live data even while StellarPay is in Test Mode. This is because of limitations with the Stripe API. If live data is displayed, a notice will appear above the content.
Beginning Testing #
- After you have connected a Test account, you will be able to toggle test mode.
- Toggle on “Test Mode“ in the section below the Stripe test account information.
- Click Save.
A banner will appear above the StellarPay admin screens, reminding you that you are in test mode. Additionally, a notice will appear in the top bar of wp-admin.
Note: It is important that you never leave test mode on for a live production store. Test mode is meant for staging and development purposes.
Performing Transactions #
After test mode has been enabled, you can begin testing. Start by visiting your store’s shop page, adding a product to the cart, and viewing your checkout. You should see Stripe’s payment element on your checkout payment screen with a “Test mode“ notice above it.
If you see this, then you are ready to use a Stripe Test Card to checkout. There are different card numbers for different scenarios and regions.
Note: Some Stripe accounts will not display payment options other than credit card when in test mode. We are actively looking for a solution to this.
Finishing Up #
Once you are done testing, be sure to toggle off test mode. When test mode is off, your site will be using the live Stripe account you connected to during onboarding and will no longer accept test payments.
Frequently Asked Questions #
You may see the following notice on some components depending on the type of Stripe account and which StellarPay mode you are using (Test or Live).
To find out why this notice displays, it’s first important to understand the various types of Stripe accounts and modes:
- Live account + Live mode: This account was created using “Live” mode. That means the person who signed up went through the main stripe.com website to create an account. They have also been approved by Stripe to accept live payments. The notice above will appear for this account type.
- Live account + Test mode: This account was created using “Live” mode, just like above, but is in Stripe’s Test mode. Depending on the Stripe status, this account can toggle test mode on or off. If the account owner has not completed the underwriting process, they cannot accept live payments and cannot toggle off Test mode in Stripe. The notice above will appear for this account type.
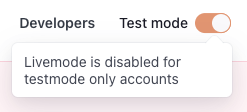
- Test account + Test mode: This account was created using Stripe’s “Test” mode. This onboarding varies from the Live mode sign-up because there is no underwriting process. These accounts also display a clear “Livemode is disabled for testmode only accounts.” This is the account type that will properly display Test data within the components that display the notice in the image above.
We are working with Stripe to ensure all components work the same across StellarPay, whether in live or test mode. This includes investigating the new “Sandbox” account feature recently announced by Stripe.
