Your StellarSites website starts with a temporary domain, but adding your own custom domain gives your site a polished, branded presence and makes it easier for people to find and trust you online. This guide walks you through the process of pointing your domain to StellarSites—whether you want us to handle it for you or prefer to manually configure DNS settings yourself.
DNS changes can take time to propagate, so don’t worry if things don’t update instantly.
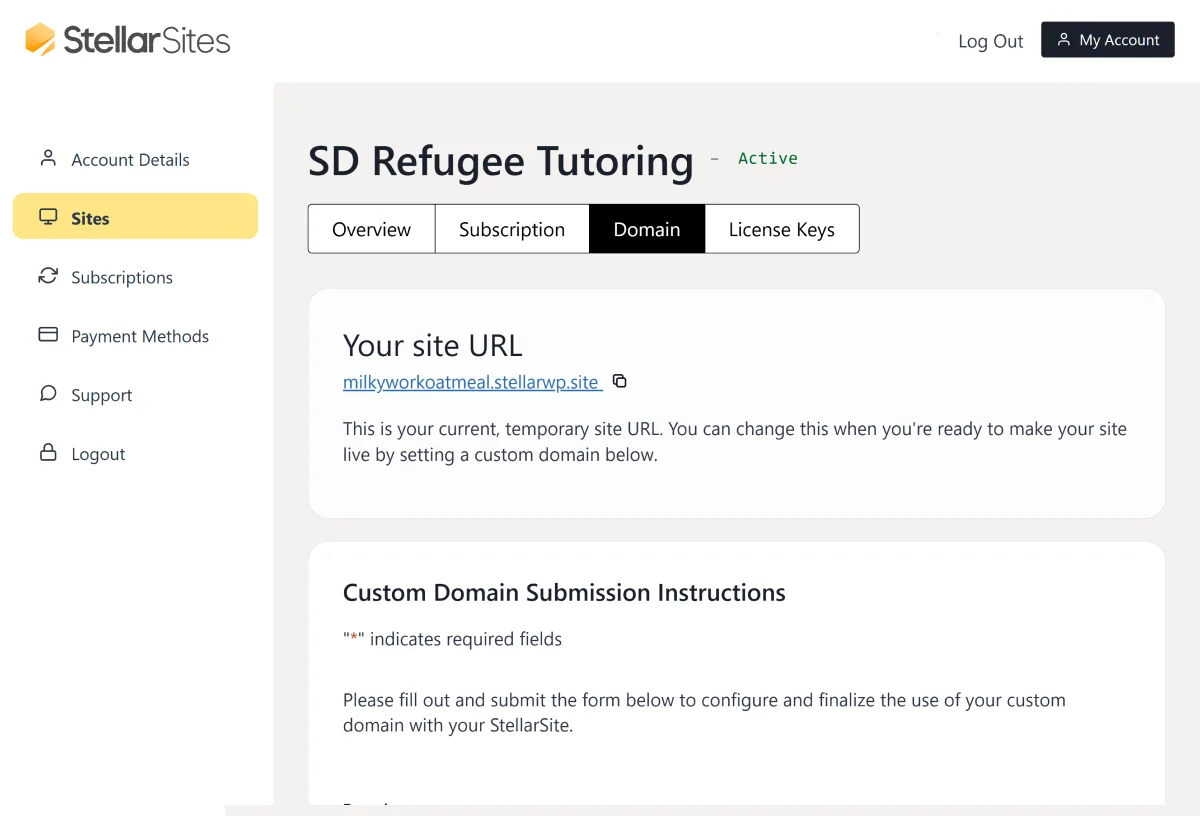
Step 1: Submit the Domain Configuration Form #
To begin, log into your StellarSites dashboard:
- Go to the Sites tab.
- Select your site.
- Click the Domain tab.
- Fill out the Domain Configuration Form
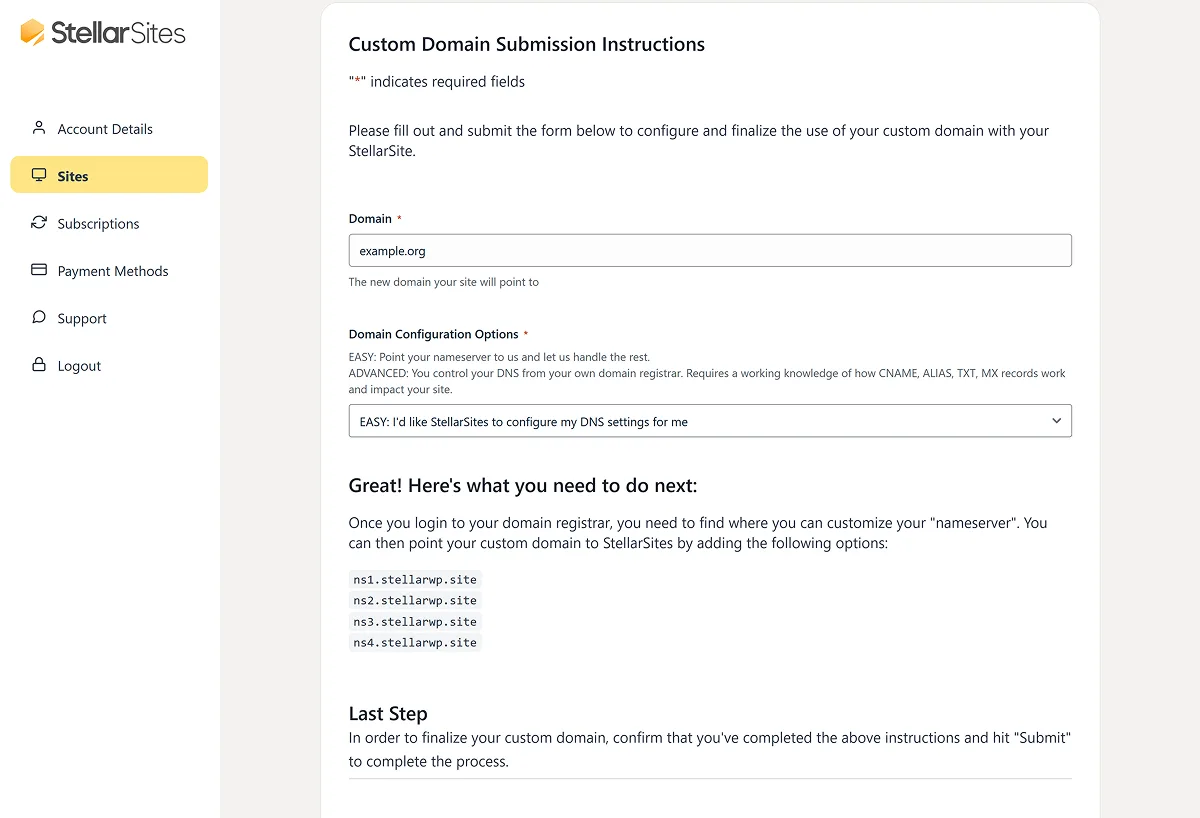
Step 2: Choose Your Connection Method #
The wizard will ask: “How would you like to configure your domain?” You’ll see two options: Easy and Advanced.
Let’s walk through both.
EASY: Use StellarSites Nameservers #
This is the simplest path. You’ll update your domain to use StellarSites’ nameservers, and StellarSites takes care of DNS configuration for you for several important records (like the Alias and CNAME records related to your site’s functionality).
Note
The reason this is labeled “easy” is that what you are doing here is resetting EVERYTHING related to your domain, so that StellarSites can manage it all for you. So it’s EASY, but if you have things like email addresses already associated with your domain name, you’ll need to account for that. If you change your nameservers without accounting for the other services currently connected to your domain, you may be inadvertently removing your own ability to send and receive emails. Reach out to the StellarSites Support team if you have any questions before changing nameservers.
Here’s what you’ll need to do:
- Log into your domain registrar (Namecheap, etc.).
- Locate the Nameserver Settings or Custom Nameservers section.
- Replace any existing nameservers with these:
ns1.stellarwp.sitens2.stellarwp.sitens3.stellarwp.sitens4.stellarwp.site
- Save your changes.
- Go back to the form, confirm you’ve updated your nameservers, and click Submit.
Once your registrar processes the update and DNS propagation finishes, StellarSites handles the rest—including SSL setup.
Once it all goes through successfully (it can take up to a day), the Domain tab of your dashboard changes to allow you to manage DNS records (for things like TXT records, MX records, additional CNAME records, etc). Learn more about managing those records in the documentation here.
ADVANCED: Manually Point Your Domain #
Prefer to manage your DNS yourself? This option’s for you.
The wizard will ask a few follow-up questions:
- Are you using Cloudflare?
- Are you using a subdomain?
Your instructions will change depending on your answers.
If you’re not using Cloudflare: #
- Add an ALIAS or ANAME record for @ (your root domain) pointing to the target shown in the wizard.
- Optionally add a CNAME for www pointing to the same target.
Heads up: Some registrars (like GoDaddy or Bluehost) don’t support ALIAS or CNAME flattening. In that case:
- You’ll need to point your domain to our nameservers, using the Easy method mentioned above.
- Use a free DNS service such as Cloudflare.
- See our FAQ for more information: https://stellarwp.com/docs/stellarsites/first-steps/connecting-your-custom-domain-to-your-stellarsite/#h-faqs-amp-troubleshooting
It may be worth it with those domains to point them to Cloudflare (which is as straightforward as any other instruction on this page) so that you can then use Apex domain CNAME records. The StellarSites support team is happy to walk you through that process.
If you’re using Cloudflare: #
- Add a CNAME for @ pointing to the domain target.
- Enable proxying (orange cloud = On).
- Repeat for www if needed.
After updating your records, return to the wizard, confirm your changes, and click Next.
Step 3: Wait for DNS to Propagate and Secure Your Site #
After confirming your settings, DNS propagation can take anywhere from a few minutes to 48 hours. Your StellarSites website will automatically recognize the custom domain and issue an SSL certificate once everything is resolved.
No extra SSL setup required—it’s automatic.
Managing Your DNS Records #
Once your domain is connected, you may need to update or adjust individual DNS records in the future (e.g. adding a subdomain, updating mail records, or changing a CNAME).
You can manage your DNS records within your StellarSites dashboard’s Domain tab. For step-by-step instructions, see Managing DNS Records.
Note that the DNS management area only appears if your DNS is handled through StellarSites. If you’ve chosen to manage the DNS records through another provider, you won’t see this option in your StellarSites dashboard.
FAQs & Troubleshooting #
Still stuck?
Reach out through the Support tab in your StellarSites dashboard. We’ve got your back.
With your domain connected, your StellarSite website is ready to go live under your brand. You’ve got this!

