- Step 1: Access Your Store Dashboard
- Step 2: Configure Store Settings
- Step 3: Add Your First Products
- Step 4: Customize the Look of Your Store
- Step 5: Optimize and Launch
- Step 6: Streamline Checkout with Flux Checkout
- Step 7: Customize Product Experience with Kadence ShopKit
- Build Your Store with StellarSites FAQ
Launching an online store can be overwhelming—but with StellarSites and WooCommerce, you’re already ahead of the game. Whether you’re on the Shop Essential, Plus, or Ultimate plan, this guide walks you through setting up your store, customizing your products, and optimizing your WooCommerce experience.
What You Need to Know Before You Start
Every StellarSites Shop plan comes with WooCommerce pre-installed and pre-configured for performance and security. That means you don’t need to worry about setup conflicts, hosting headaches, or compatibility issues.
Included in every plan:
- WooCommerce: The leading WordPress eCommerce platform
- StellarPay: Secure, seamless payment processing
- Flux Checkout: Streamlined checkout to boost conversions
Plus & Ultimate plans add even more tools:
- Kadence ShopKit: Dynamic pricing, product customization, upsells
- Iconic All Access: Premium WooCommerce plugins like Quickview, Wishlists, and more
You also get a performance-optimized environment with built-in caching, autoscaling PHP workers, and Cloudflare integration, so your store stays fast, secure, and scalable.
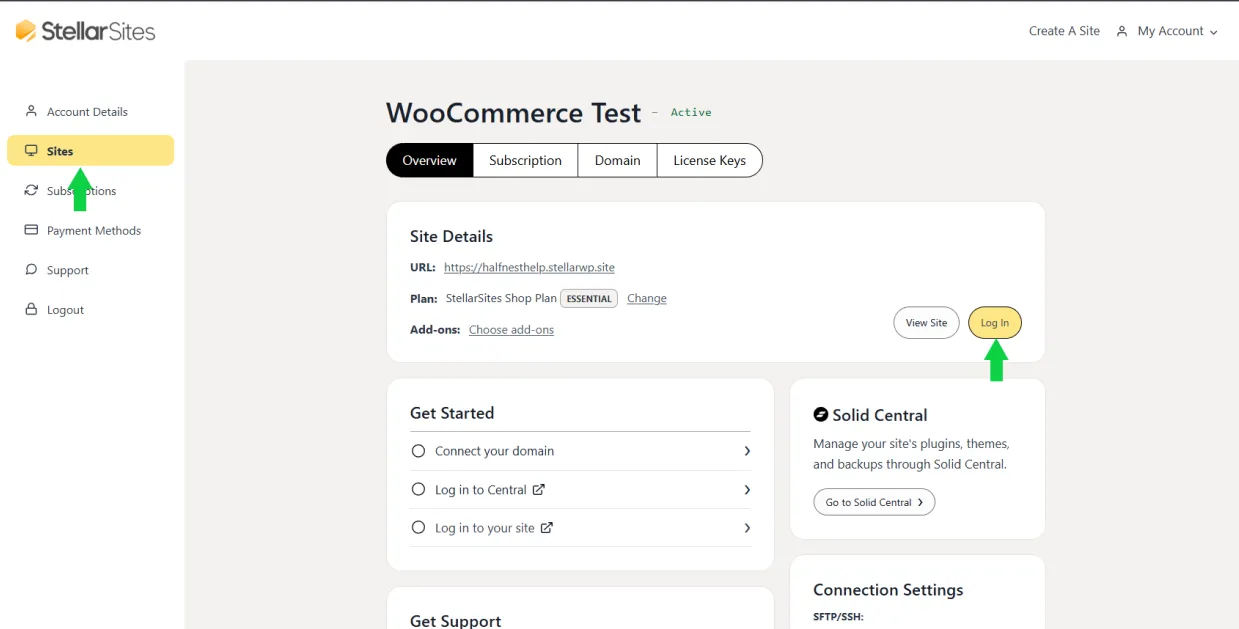
Step 1: Access Your Store Dashboard #
To start building your store:
- Log in to your StellarWP Account. Navigate to Sites > Manage your site > Log In.
- In the left menu, click WooCommerce to open your store settings.
Step 2: Configure Store Settings #
Before adding products, make sure your store basics are in place:
- Go to WooCommerce > Settings
- Update your store address, currency, and location settings
- Under Shipping, define your zones and methods (flat rate, free, local pickup)
- Under Payments, enable StellarPay or connect another gateway
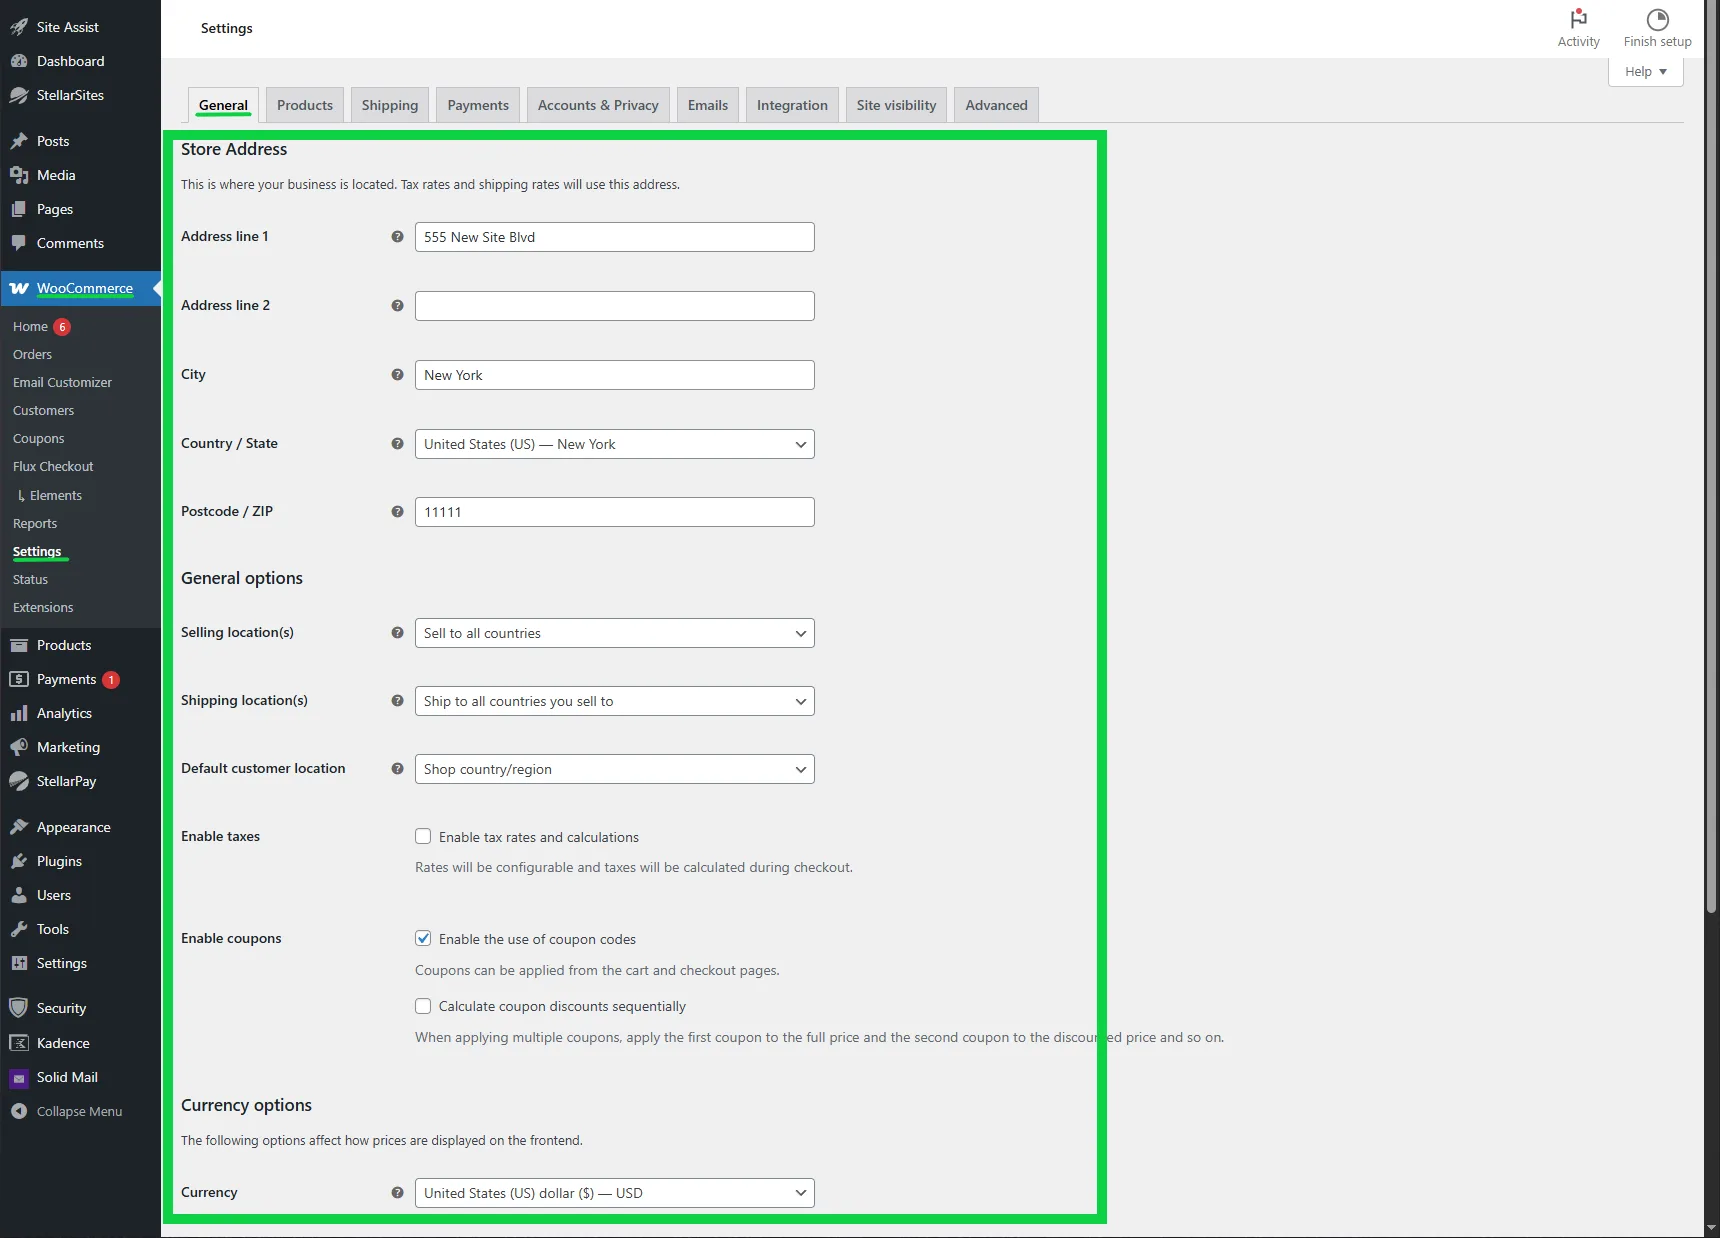
WooCommerce automatically creates the core pages you need (Cart, Checkout, My Account)—no manual setup required.
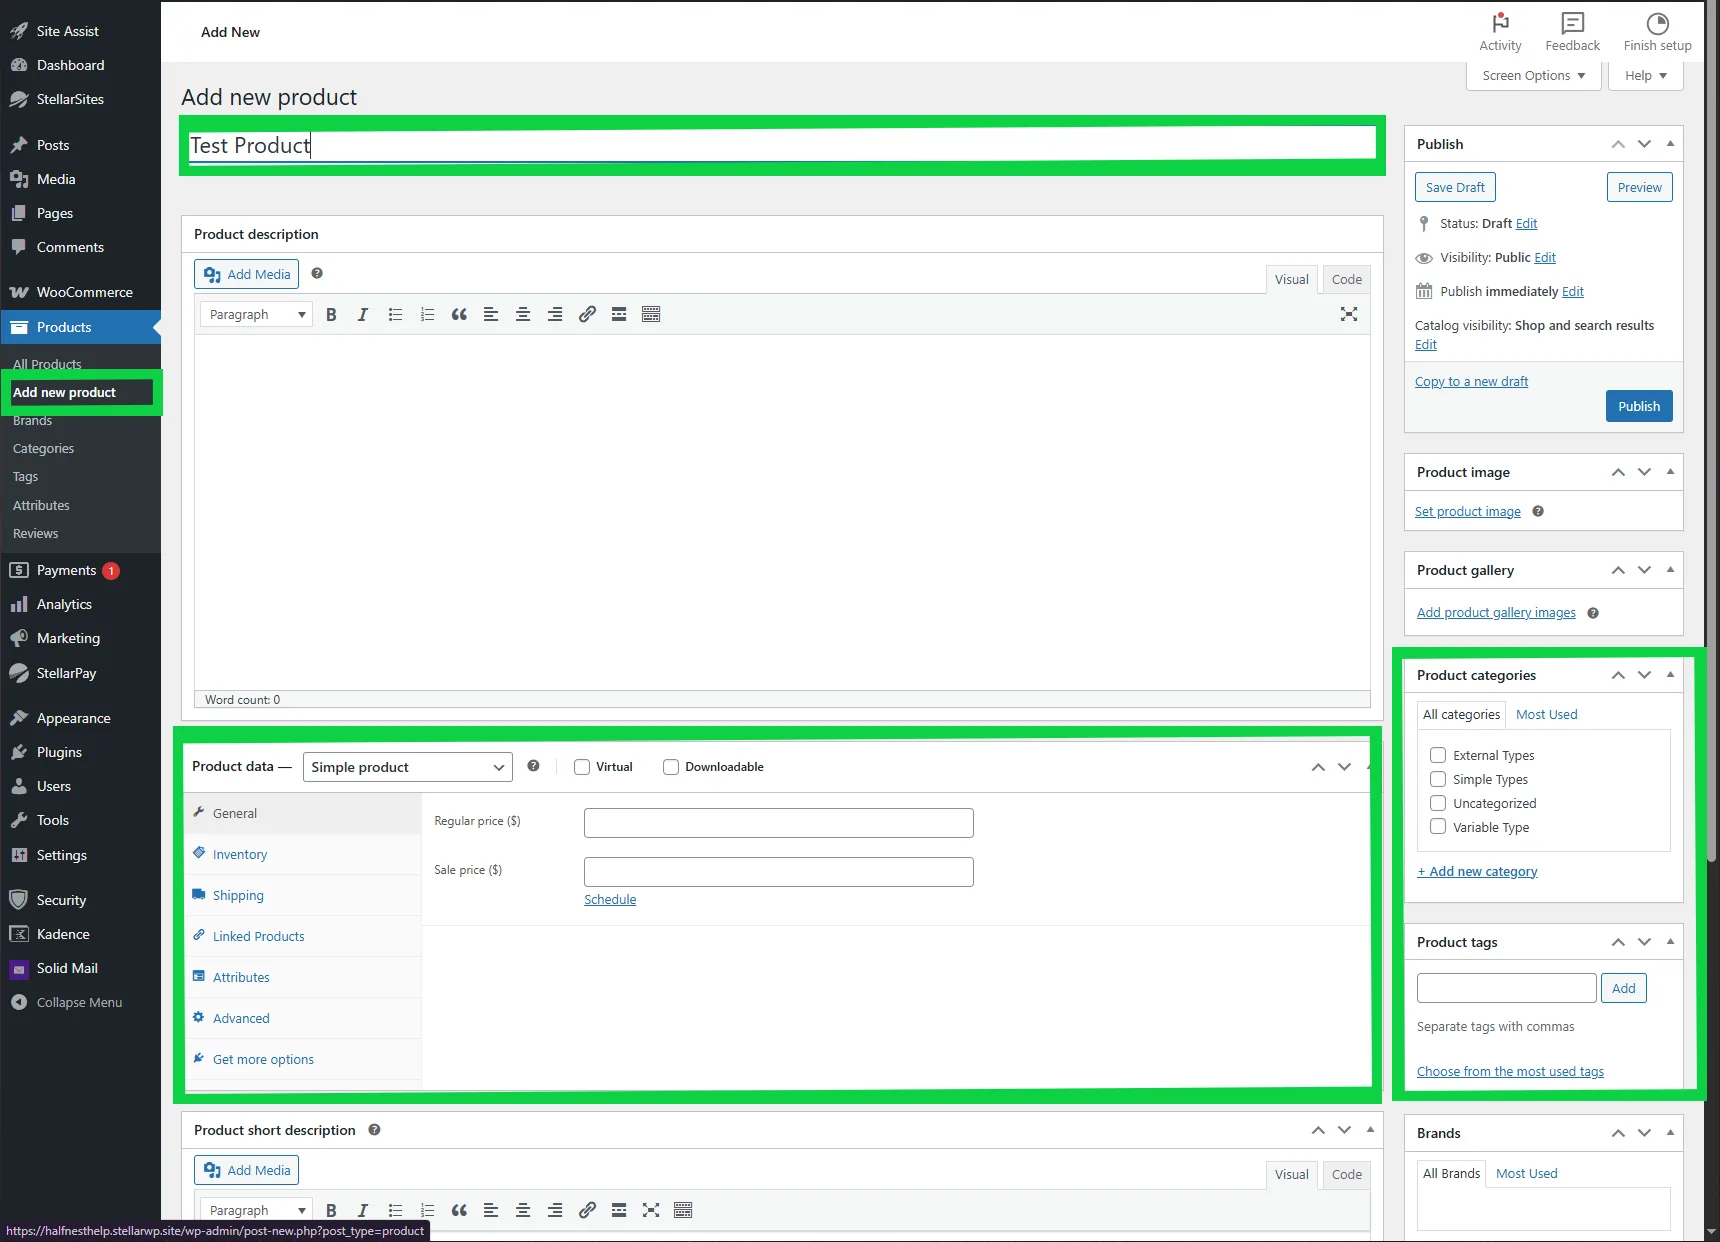
Step 3: Add Your First Products #
To create your first product:
- Go to Products > Add New
- Enter your product name, description, and price
- Upload product images and set a featured image
- Choose a product type: Simple, Variable, or Downloadable
- Organize with categories and tags for easier browsing
Pro tip: If you’re on the Plus or Ultimate plan, use Kadence Blocks or ShopKit to enhance your product pages with testimonials, image galleries, or sticky add-to-cart sections.
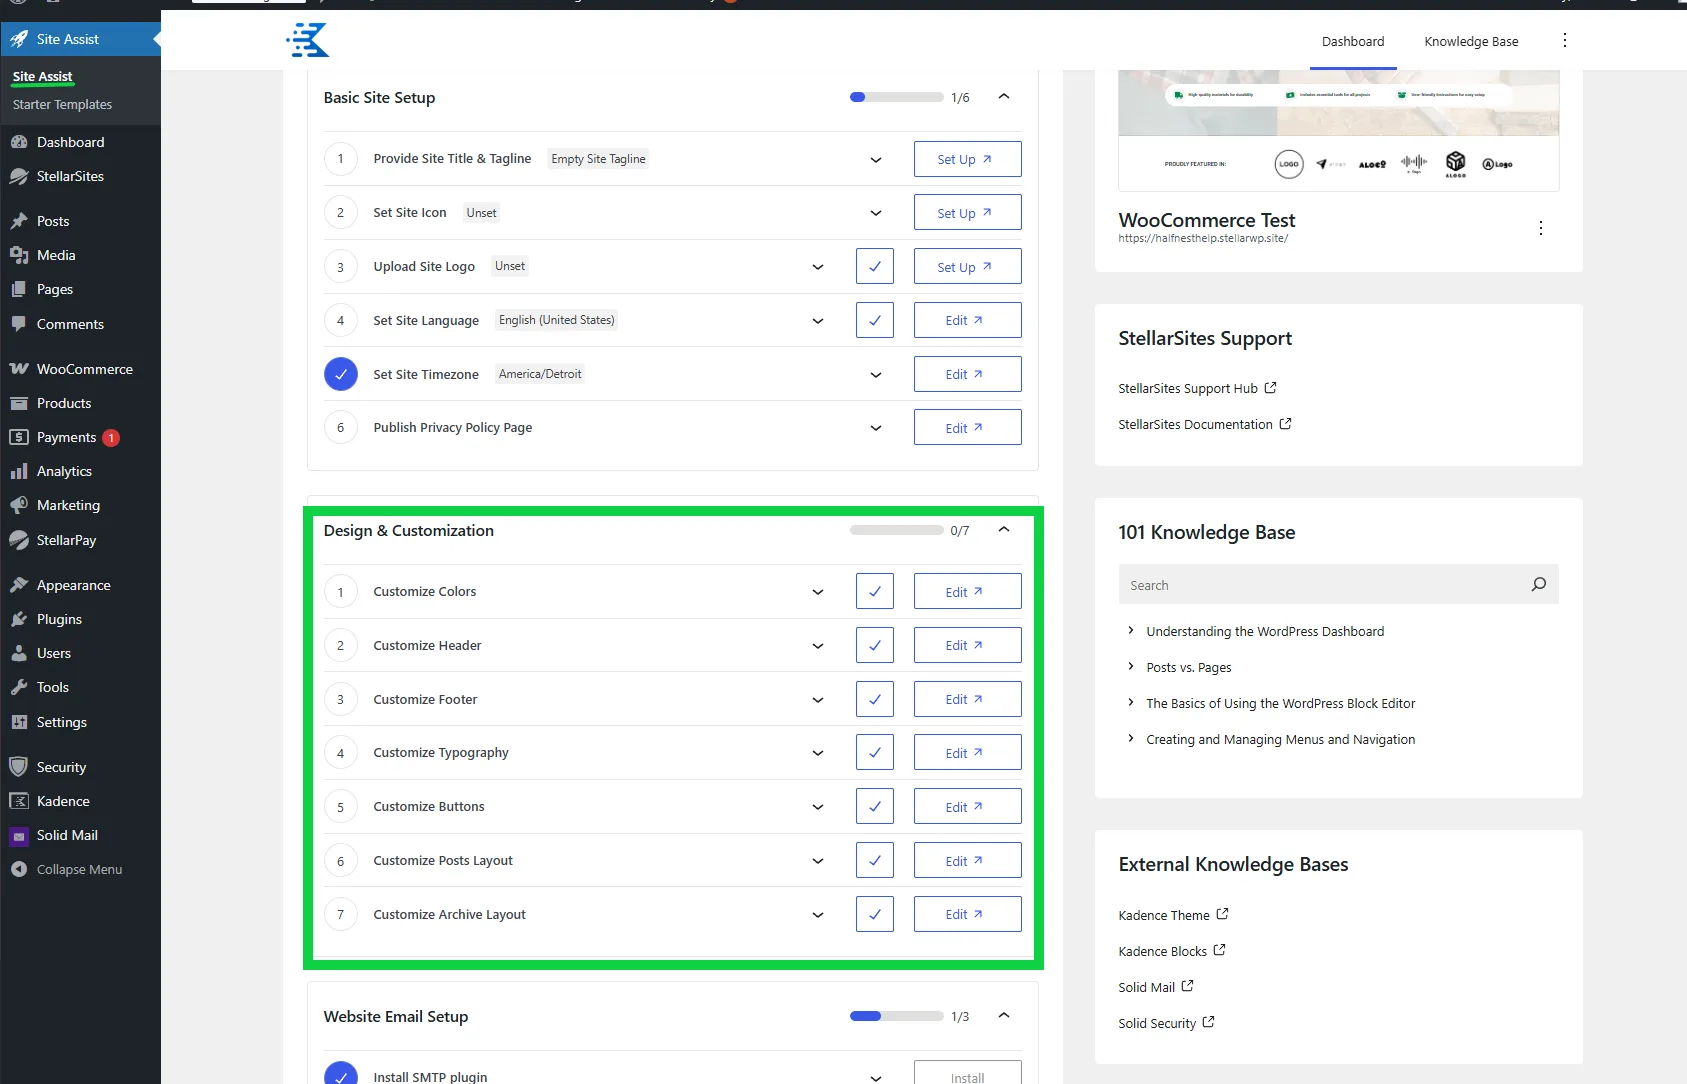
Step 4: Customize the Look of Your Store #
Your StellarSite uses the Kadence Theme and Kadence Blocks for effortless design without coding. You can:
- Choose a Starter Template that matches your brand
- Use the Customizer to update fonts, colors, and layout
- Build pages with drag-and-drop blocks for banners, testimonials, and product grids
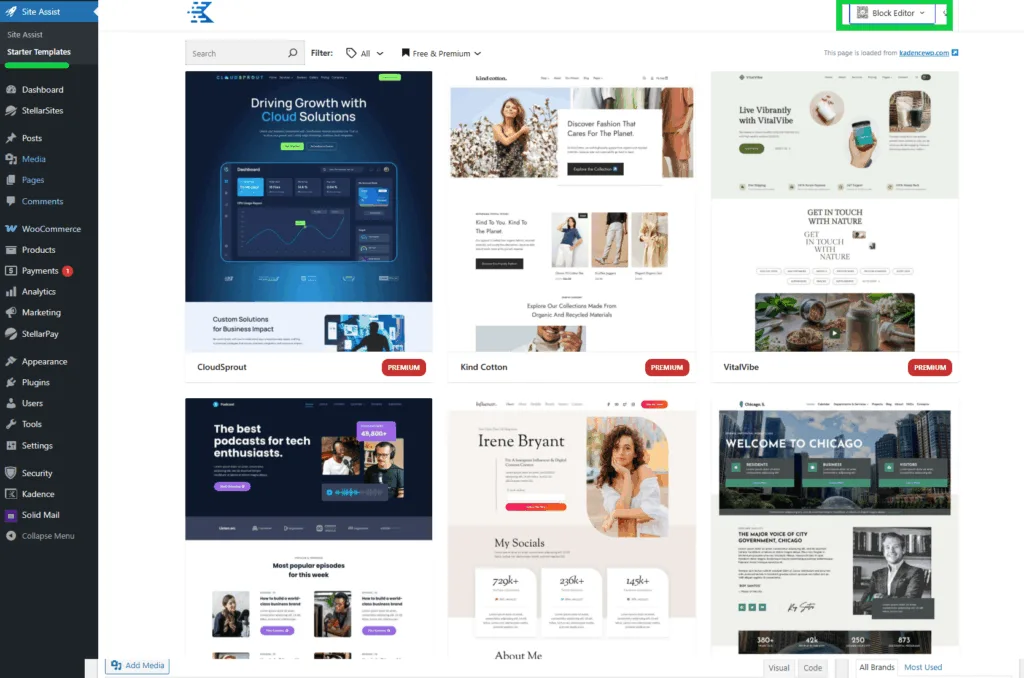
With Kadence AI Credits, you can even generate page content and design elements with a few clicks.
Step 5: Optimize and Launch #
Before going live:
- Review your checkout experience using Flux Checkout
- Add legal essentials: Privacy Policy, Terms & Conditions
- Test a few demo transactions to make sure payments are flowing via StellarPay
- Set up email notifications under WooCommerce > Settings > Emails

Step 6: Streamline Checkout with Flux Checkout #
Flux Checkout replaces the default WooCommerce checkout with a faster, mobile-friendly, multi-step experience designed to reduce cart abandonment and increase conversions.
Why Use Flux Checkout? #
- Faster flow: Simplified steps keep customers moving
- Mobile-optimized: Smooth experience on all devices
- Customizable: Adjust styles, colors, and checkout fields
- Distraction-free: Minimizes distractions to help customers complete their purchase
How to Configure Flux Checkout #
- In your WordPress dashboard, go to WooCommerce > Flux Checkout
- Under the Styles tab, choose your layout style and customize fonts, colors, and progress indicators
- In the Checkout Page tab, control which fields display and their order (you can also make fields optional or required)
Flux Checkout is enabled by default on StellarSites, but these settings let you tailor the experience to fit your brand and your audience.
Once you’re happy with your store setup, it’s time to go live. Promote your products, monitor performance from your dashboard, and use the tools in your plan to keep your store fast and customer-friendly.
Step 7: Customize Product Experience with Kadence ShopKit #
Included in the Shop Plus and Ultimate Plans
Kadence ShopKit is a powerhouse add-on for WooCommerce users on StellarSites’ Plus and Ultimate plans. It adds advanced product options and upselling tools to boost your revenue and customer experience.
Key Features of ShopKit #
- Product Add-ons: Let customers personalize products with text fields, checkboxes, color swatches, and more
- Advanced Reviews: Collect structured feedback to build trust
- Product Badges: Highlight new, popular, or discounted items
- Variation Swatches: Display product variations using images, colors, or custom icons
- Cart Notices: Show dynamic messages based on cart content, user actions, or thresholds
- Sticky Add-to-Cart: Keep the call-to-action visible as shoppers scroll
How to Use ShopKit #
Once activated on your StellarSite:
- Go to WooCommerce > Kadence ShopKit
- Enable and configure individual modules (e.g., Product Add-ons, Variation Swatches)
- When editing a product, use the new Product Extras tab to add personalization options
- Style your add-ons with Kadence Blocks for a seamless experience
ShopKit gives you all the tools to turn browsers into buyers—with no extra plugins or coding needed.
Need Help? The support team is always ready. If you run into a snag or want tips on how to grow your store faster, submit a support request and the team will be happy to help.

